Search results for: 'melbourne gazebo replacement canopy and net riplock 350 lcm443bcn rs'

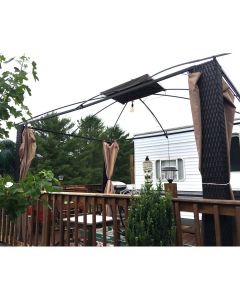
Canopy Experts  Send Us a Photo
Avoid the hassle of ordering the wrong canopy!
Send a picture of your entire frame and let us help!

Avoid the hassle of ordering the wrong canopy!
Send a picture of your entire frame and let us help!