Search results for: 'sunshine pleated valence gazebo replacement canopy p 3066'
-
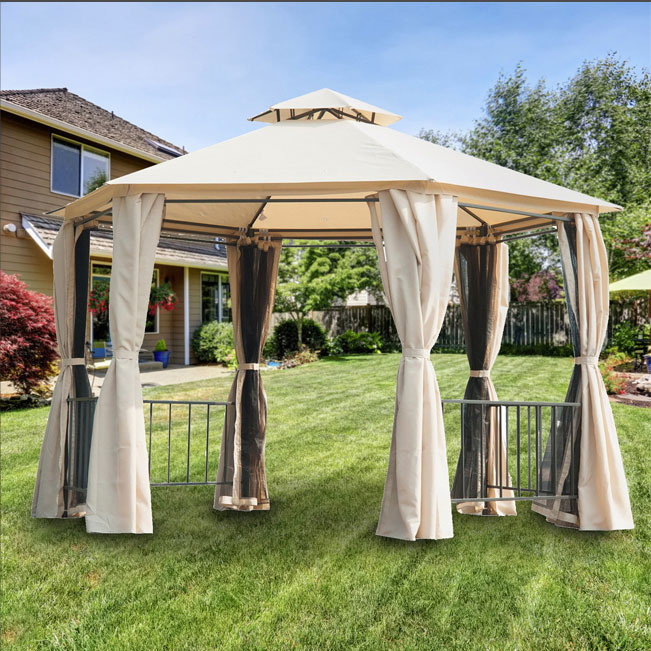
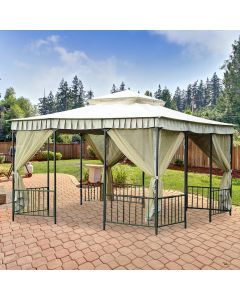
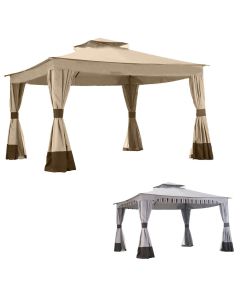
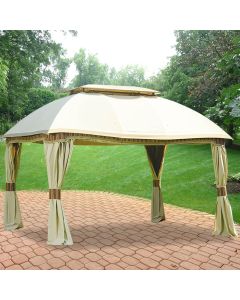
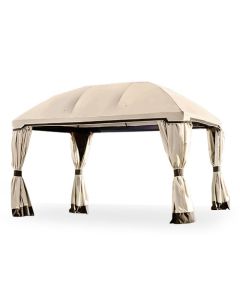
 Sunshine Pleated Valence Replacement Canopy and Net - RipLockModel: LCM993BCN-RSSpecial Price $193.59 Regular Price $241.99
 -
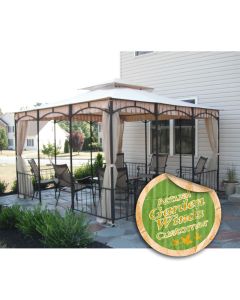
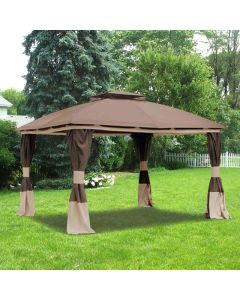
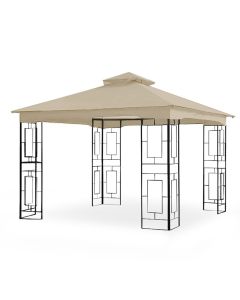
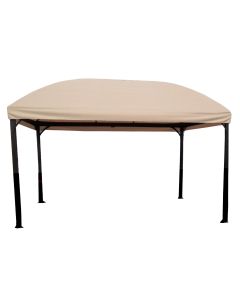
Sunshine Pleated Valence Gaz Replacement Canopy - RipLock 350Model: LCM993B-RSSpecial Price $138.39 Regular Price $172.99
-
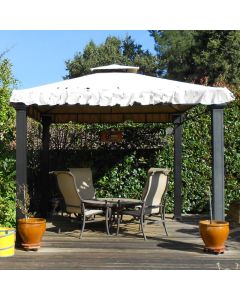
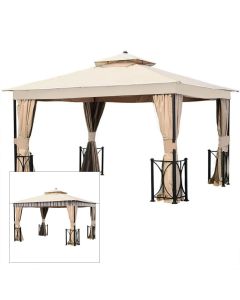
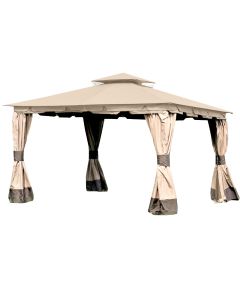
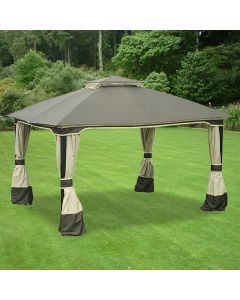
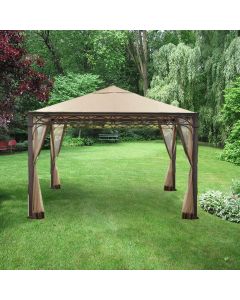 Replacement Canopy for Valence Gazebo - RipLock 350Model: LCM1198B-RSSpecial Price $114.39 Regular Price $142.99
 -
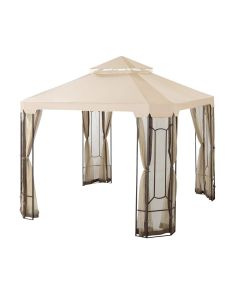
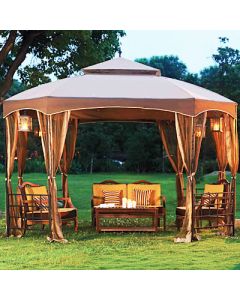
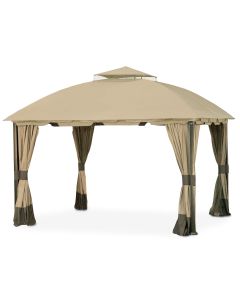
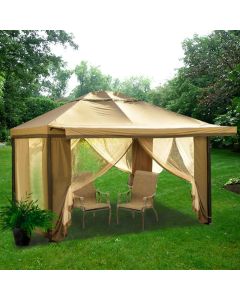 Folding Valence Gaz Replacement Canopy - RipLock 350Model: LCM825B-RSSpecial Price $139.99 Regular Price $174.99
 -
 Fold Down Valence Replacement Canopy and Net - RipLockModel: LCM825BCN-RSSpecial Price $211.19 Regular Price $263.99
 -
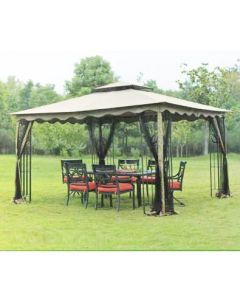
 Replacement Canopy for Constantine Gazebo - RipLock 350Model: LCM1235B-RSSpecial Price $147.19 Regular Price $183.99
 -
 Sports Authority Kingston Gazebo Replacement Canopy - 350Model: LCM1010BSpecial Price $114.39 Regular Price $142.99
 -
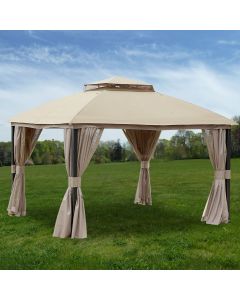
 Ocean State Regency Gazebo Replacement Canopy - 350Model: LCM886BSpecial Price $115.19 Regular Price $143.99
 -
 Ocean State Regency Gazebo Replacement Canopy - RipLock 350Model: LCM886B-RSSpecial Price $139.19 Regular Price $173.99
 -
-
-
-
-
-
-
-
-
-
 Replacement Canopy for Privacy Gazebo - 350Model: LCM1265BSpecial Price $91.99 Regular Price $114.99
 -
-
-

-
-

Canopy Experts  Send Us a Photo
Avoid the hassle of ordering the wrong canopy!
Send a picture of your entire frame and let us help!